本页还没有译文
本页 30 段还没译成简体中文,下面显示的是英文原文。Deploy a Bun application on DigitalOcean
还没翻译译自英文(bun.com)本页 30 段都还没译
DigitalOcean is a cloud platform that provides a range of services for building and deploying applications.
This guide deploys a Bun HTTP server to DigitalOcean using a Dockerfile.
Note
Before continuing, make sure you have:
- A Bun application ready for deployment
- A DigitalOcean account
- DigitalOcean CLI installed and configured
- Docker installed and added to your
PATH
-
Create a new DigitalOcean Container Registry
Create a new Container Registry to store the Docker image.
In the DigitalOcean dashboard, go to Container Registry, and enter the details for the new registry.
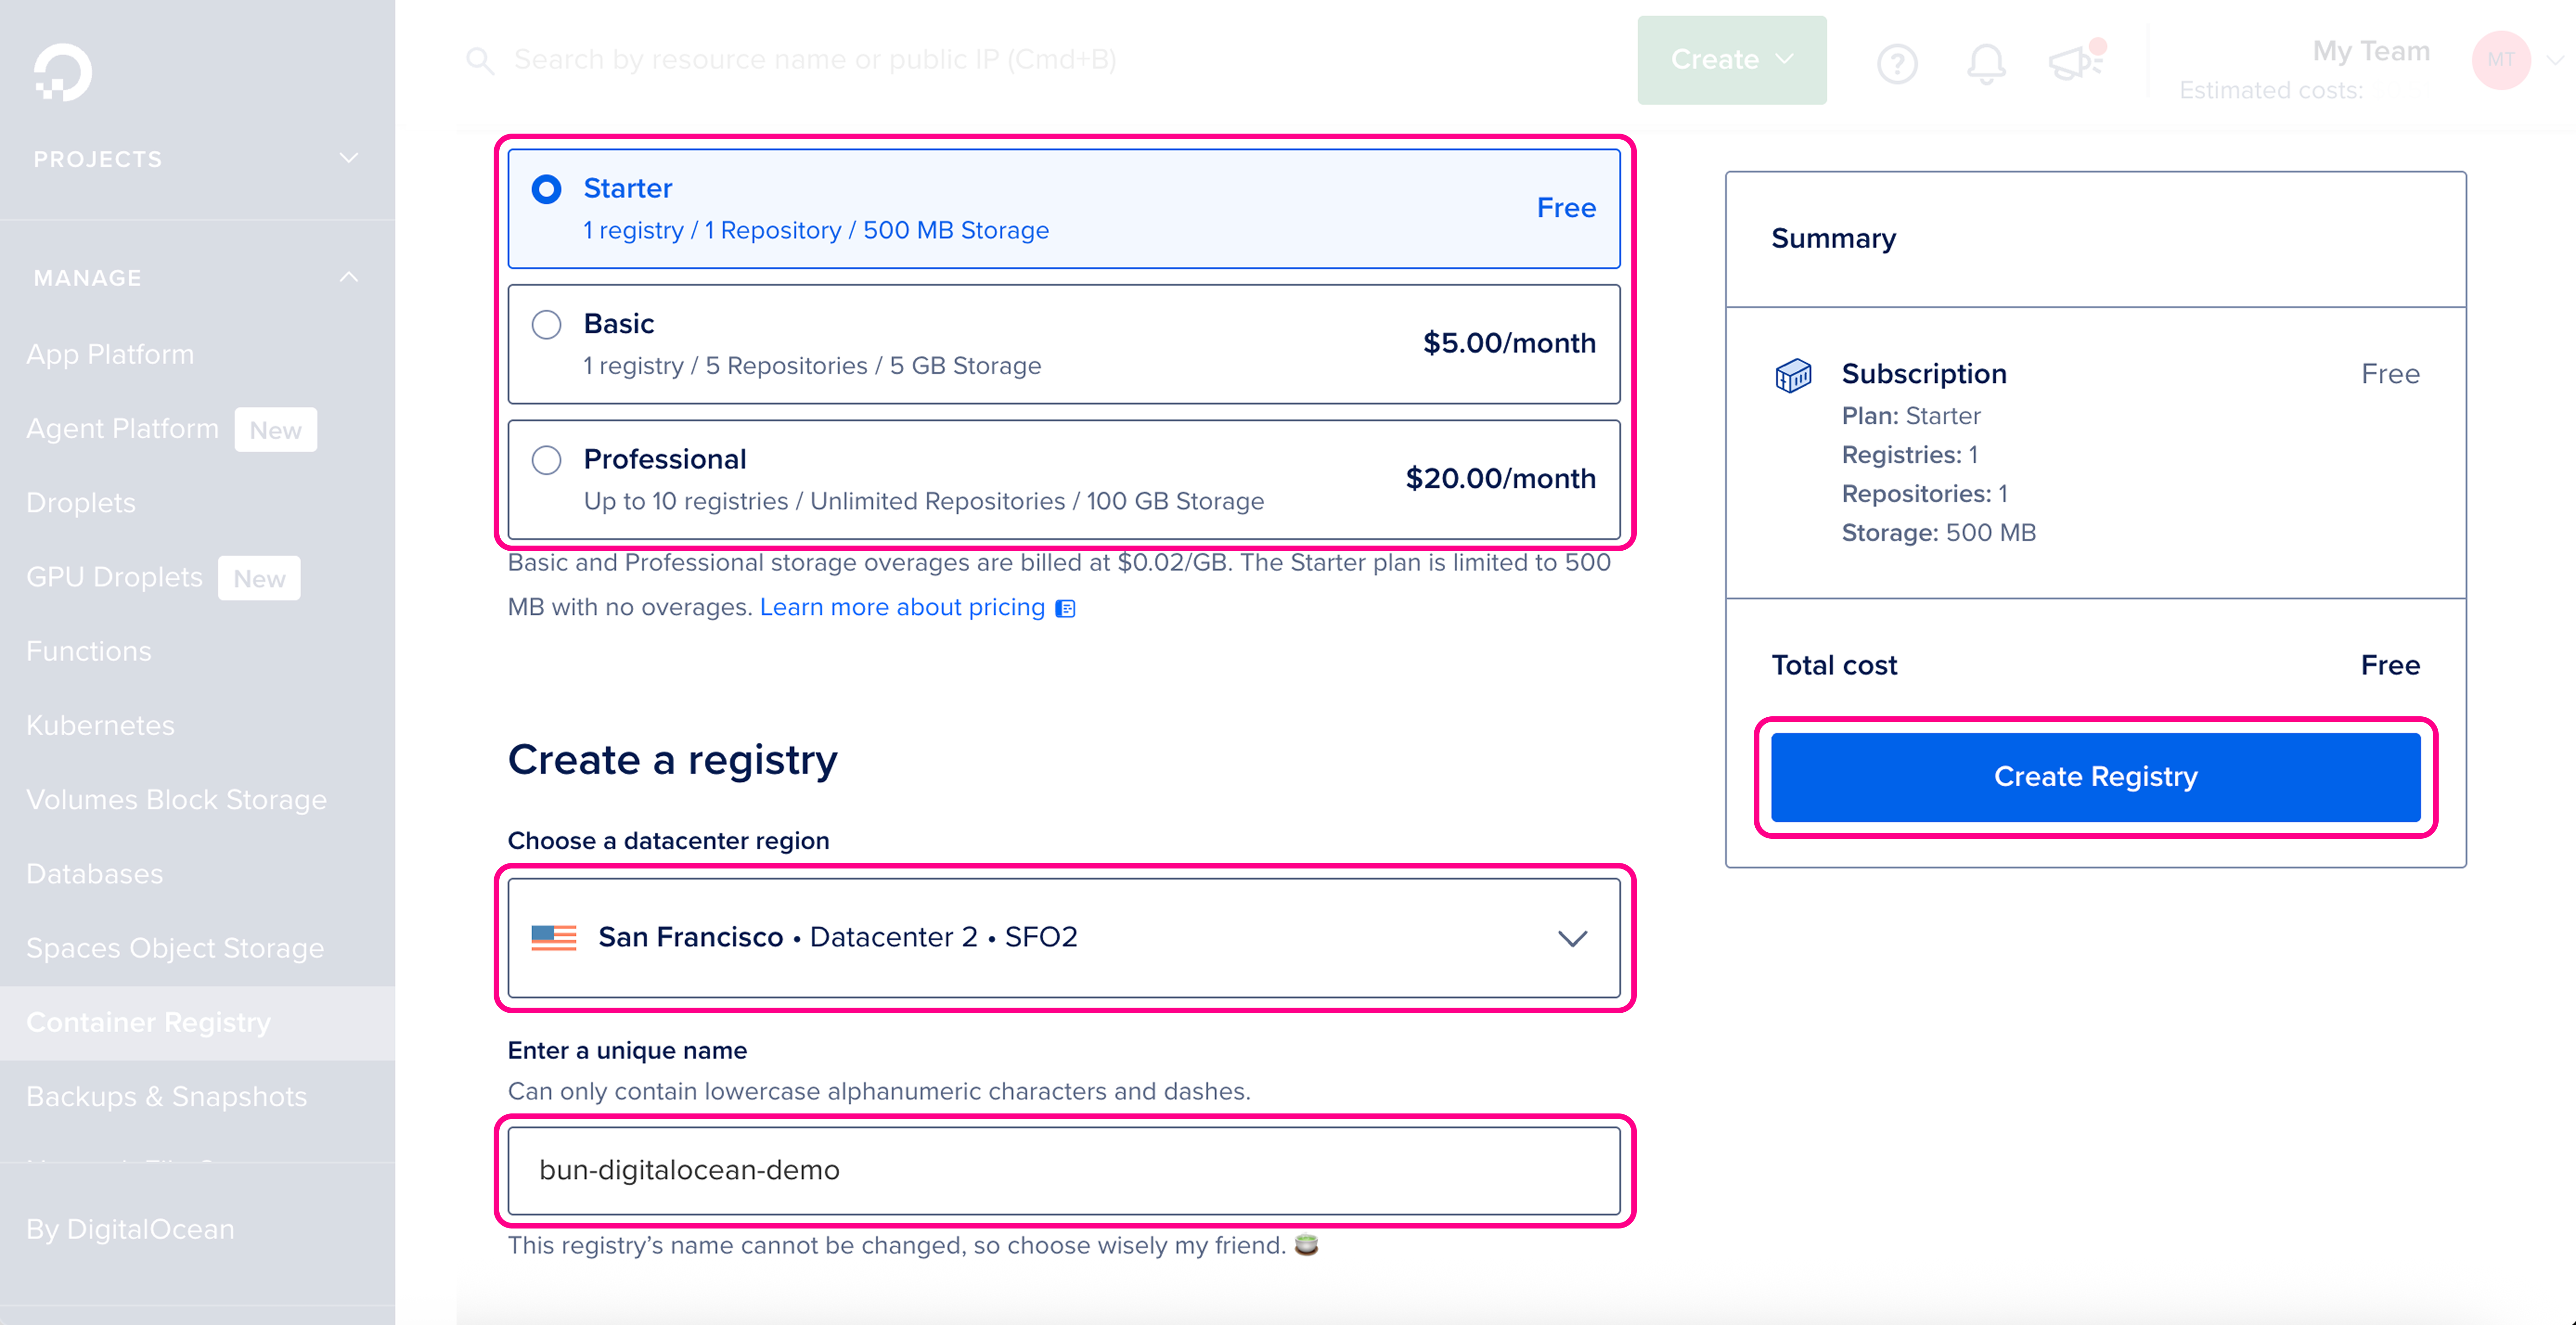
Make sure the details are correct, then click Create Registry.
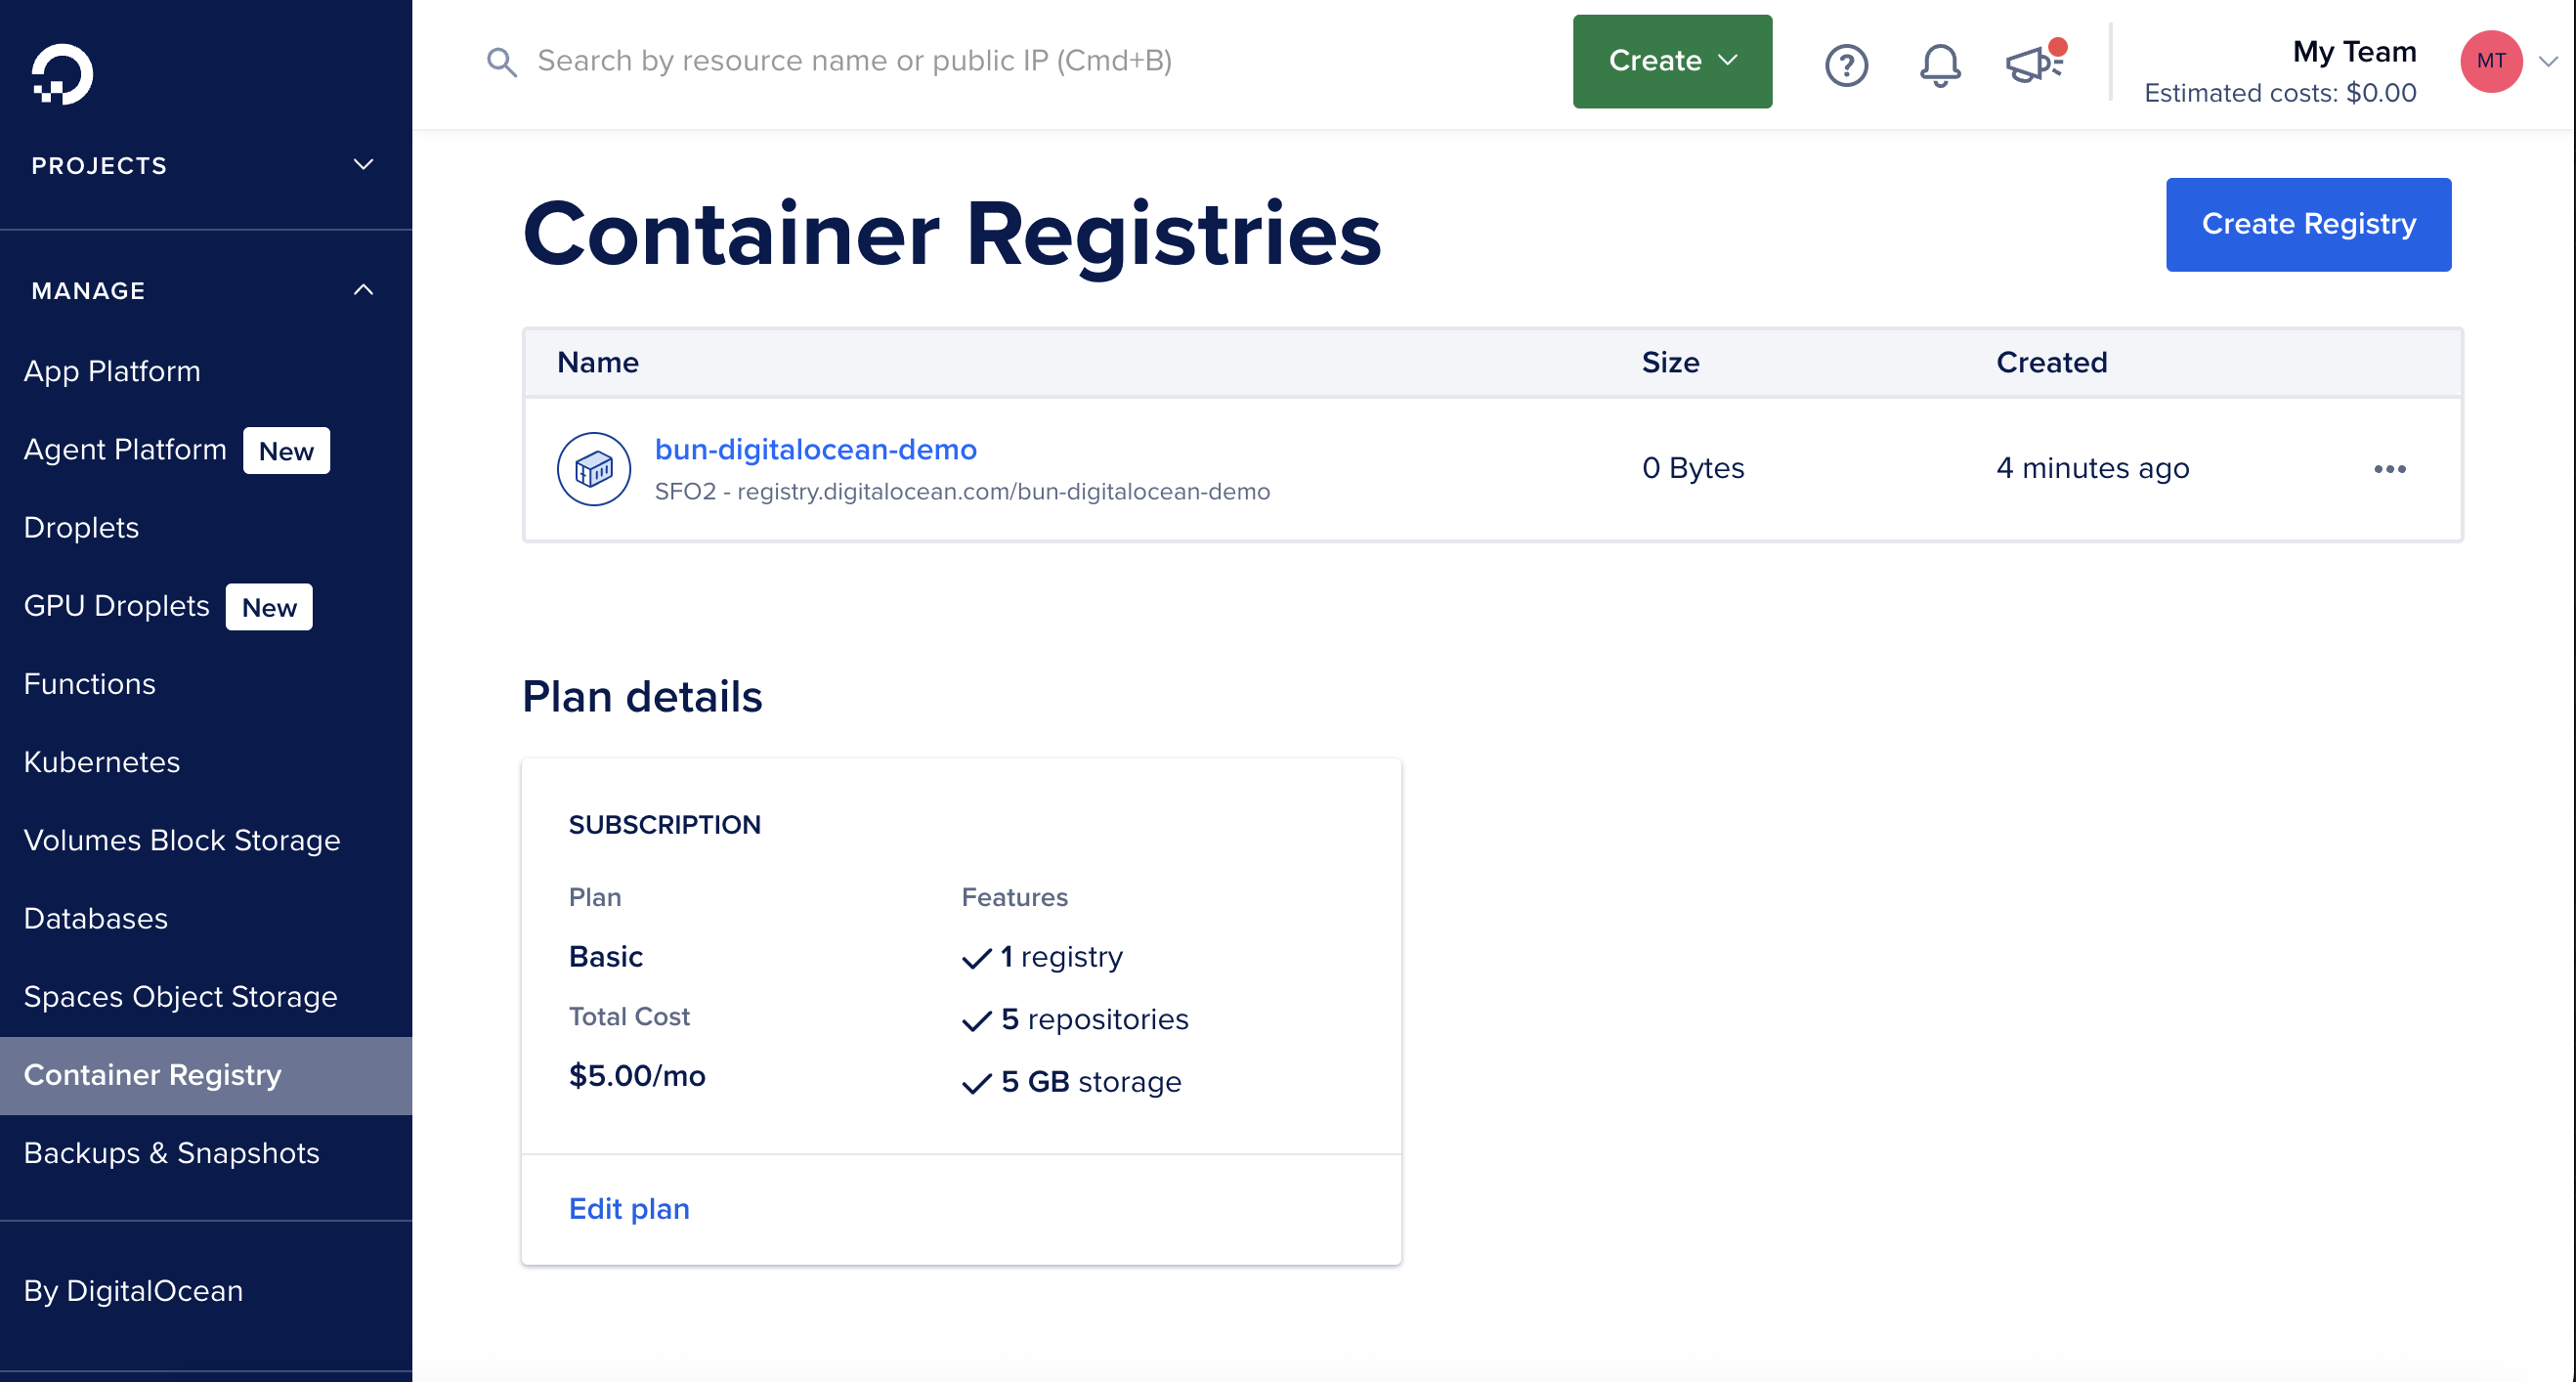
doctl registry create bun-digitalocean-demoName Endpoint Region slug bun-digitalocean-demo registry.digitalocean.com/bun-digitalocean-demo sfo2You should see the new registry in the DigitalOcean registry dashboard:
-
Create a new Dockerfile
Create a new
Dockerfilein the root of your project. This file contains the instructions to initialize the container, copy your local project files into it, install dependencies, and start the application.# Use the official Bun image to run the application FROM oven/bun:debian # Set the work directory to `/app` WORKDIR /app # Copy the package.json and bun.lock into the container COPY package.json bun.lock ./ # Install the dependencies RUN bun install --production --frozen-lockfile # Copy the rest of the application into the container COPY . . # Expose the port (DigitalOcean will set PORT env var) EXPOSE 8080 # Run the application CMD ["bun", "index.ts"]Note
Make sure that the start command corresponds to your application's entry point. The start command can also be
CMD ["bun", "run", "start"]if you have a start script in yourpackage.json.If your app doesn't have dependencies, you can omit the
COPY package.json bun.lock ./andRUN bun install --production --frozen-lockfilelines. Bun doesn't write abun.lockfor a project with no dependencies.Create a new
.dockerignorefile in the root of your project. It lists the files and directories to exclude from the container image, such asnode_modules. Excluding them keeps builds faster and smaller:node_modules Dockerfile* .dockerignore .git .gitignore README.md LICENSE .vscode .env # Any other files or directories you want to exclude -
Authenticate Docker with DigitalOcean registry
Before building and pushing the Docker image, authenticate Docker with the DigitalOcean Container Registry:
doctl registry loginLogging Docker in to registry.digitalocean.com Notice: Login valid for 30 days. Use the --expiry-seconds flag to set a shorter expiration or --never-expire for no expiration.Note
This command authenticates Docker with DigitalOcean's registry using your DigitalOcean credentials. Without this step, the build and push command fails with a 401 authentication error.
-
Build and push the Docker image to the DigitalOcean registry
Make sure you're in the directory containing your
Dockerfile, then build and push the Docker image to the DigitalOcean registry in one command:docker buildx build --platform=linux/amd64 -t registry.digitalocean.com/bun-digitalocean-demo/bun-digitalocean-demo:latest --push .Note
If you're building on an ARM Mac (M1/M2), you must use
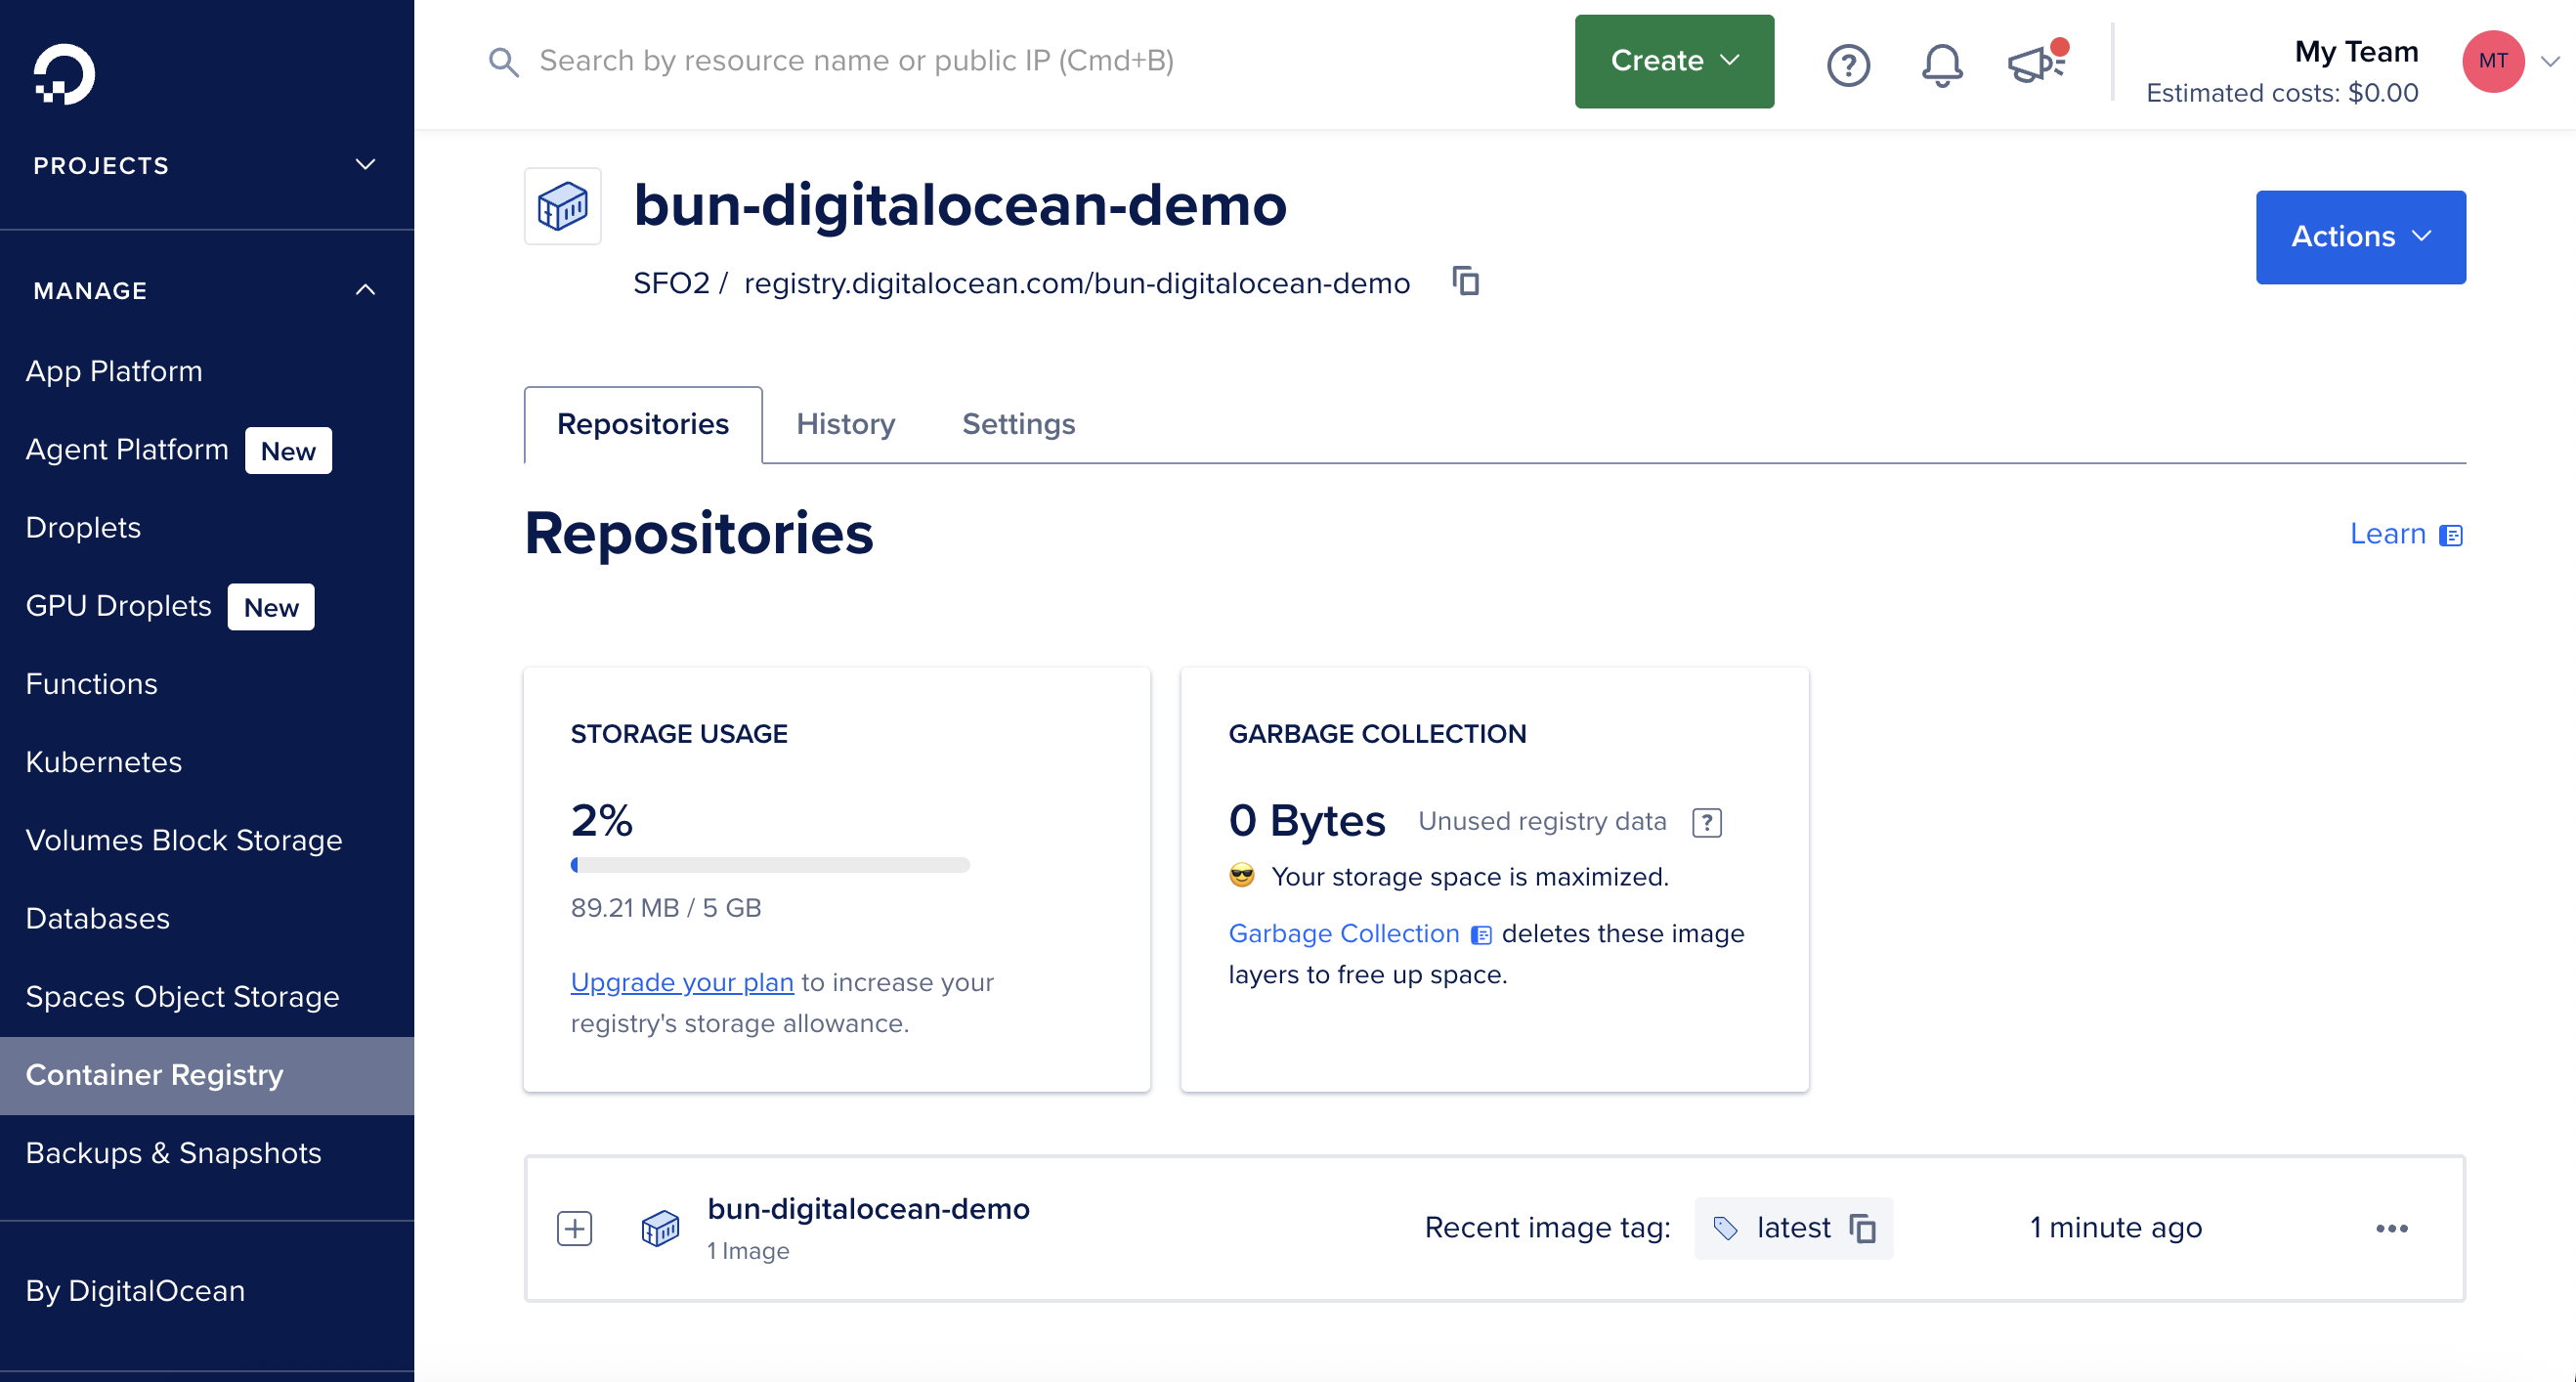
docker buildxwith--platform=linux/amd64for compatibility with DigitalOcean's infrastructure. Usingdocker buildwithout the platform flag creates an ARM64 image that won't run on DigitalOcean.Once the image is pushed, you should see it in the DigitalOcean registry dashboard:
-
Create a new DigitalOcean App Platform project
In the DigitalOcean dashboard, go to App Platform > Create App. You can create a project directly from the container image.
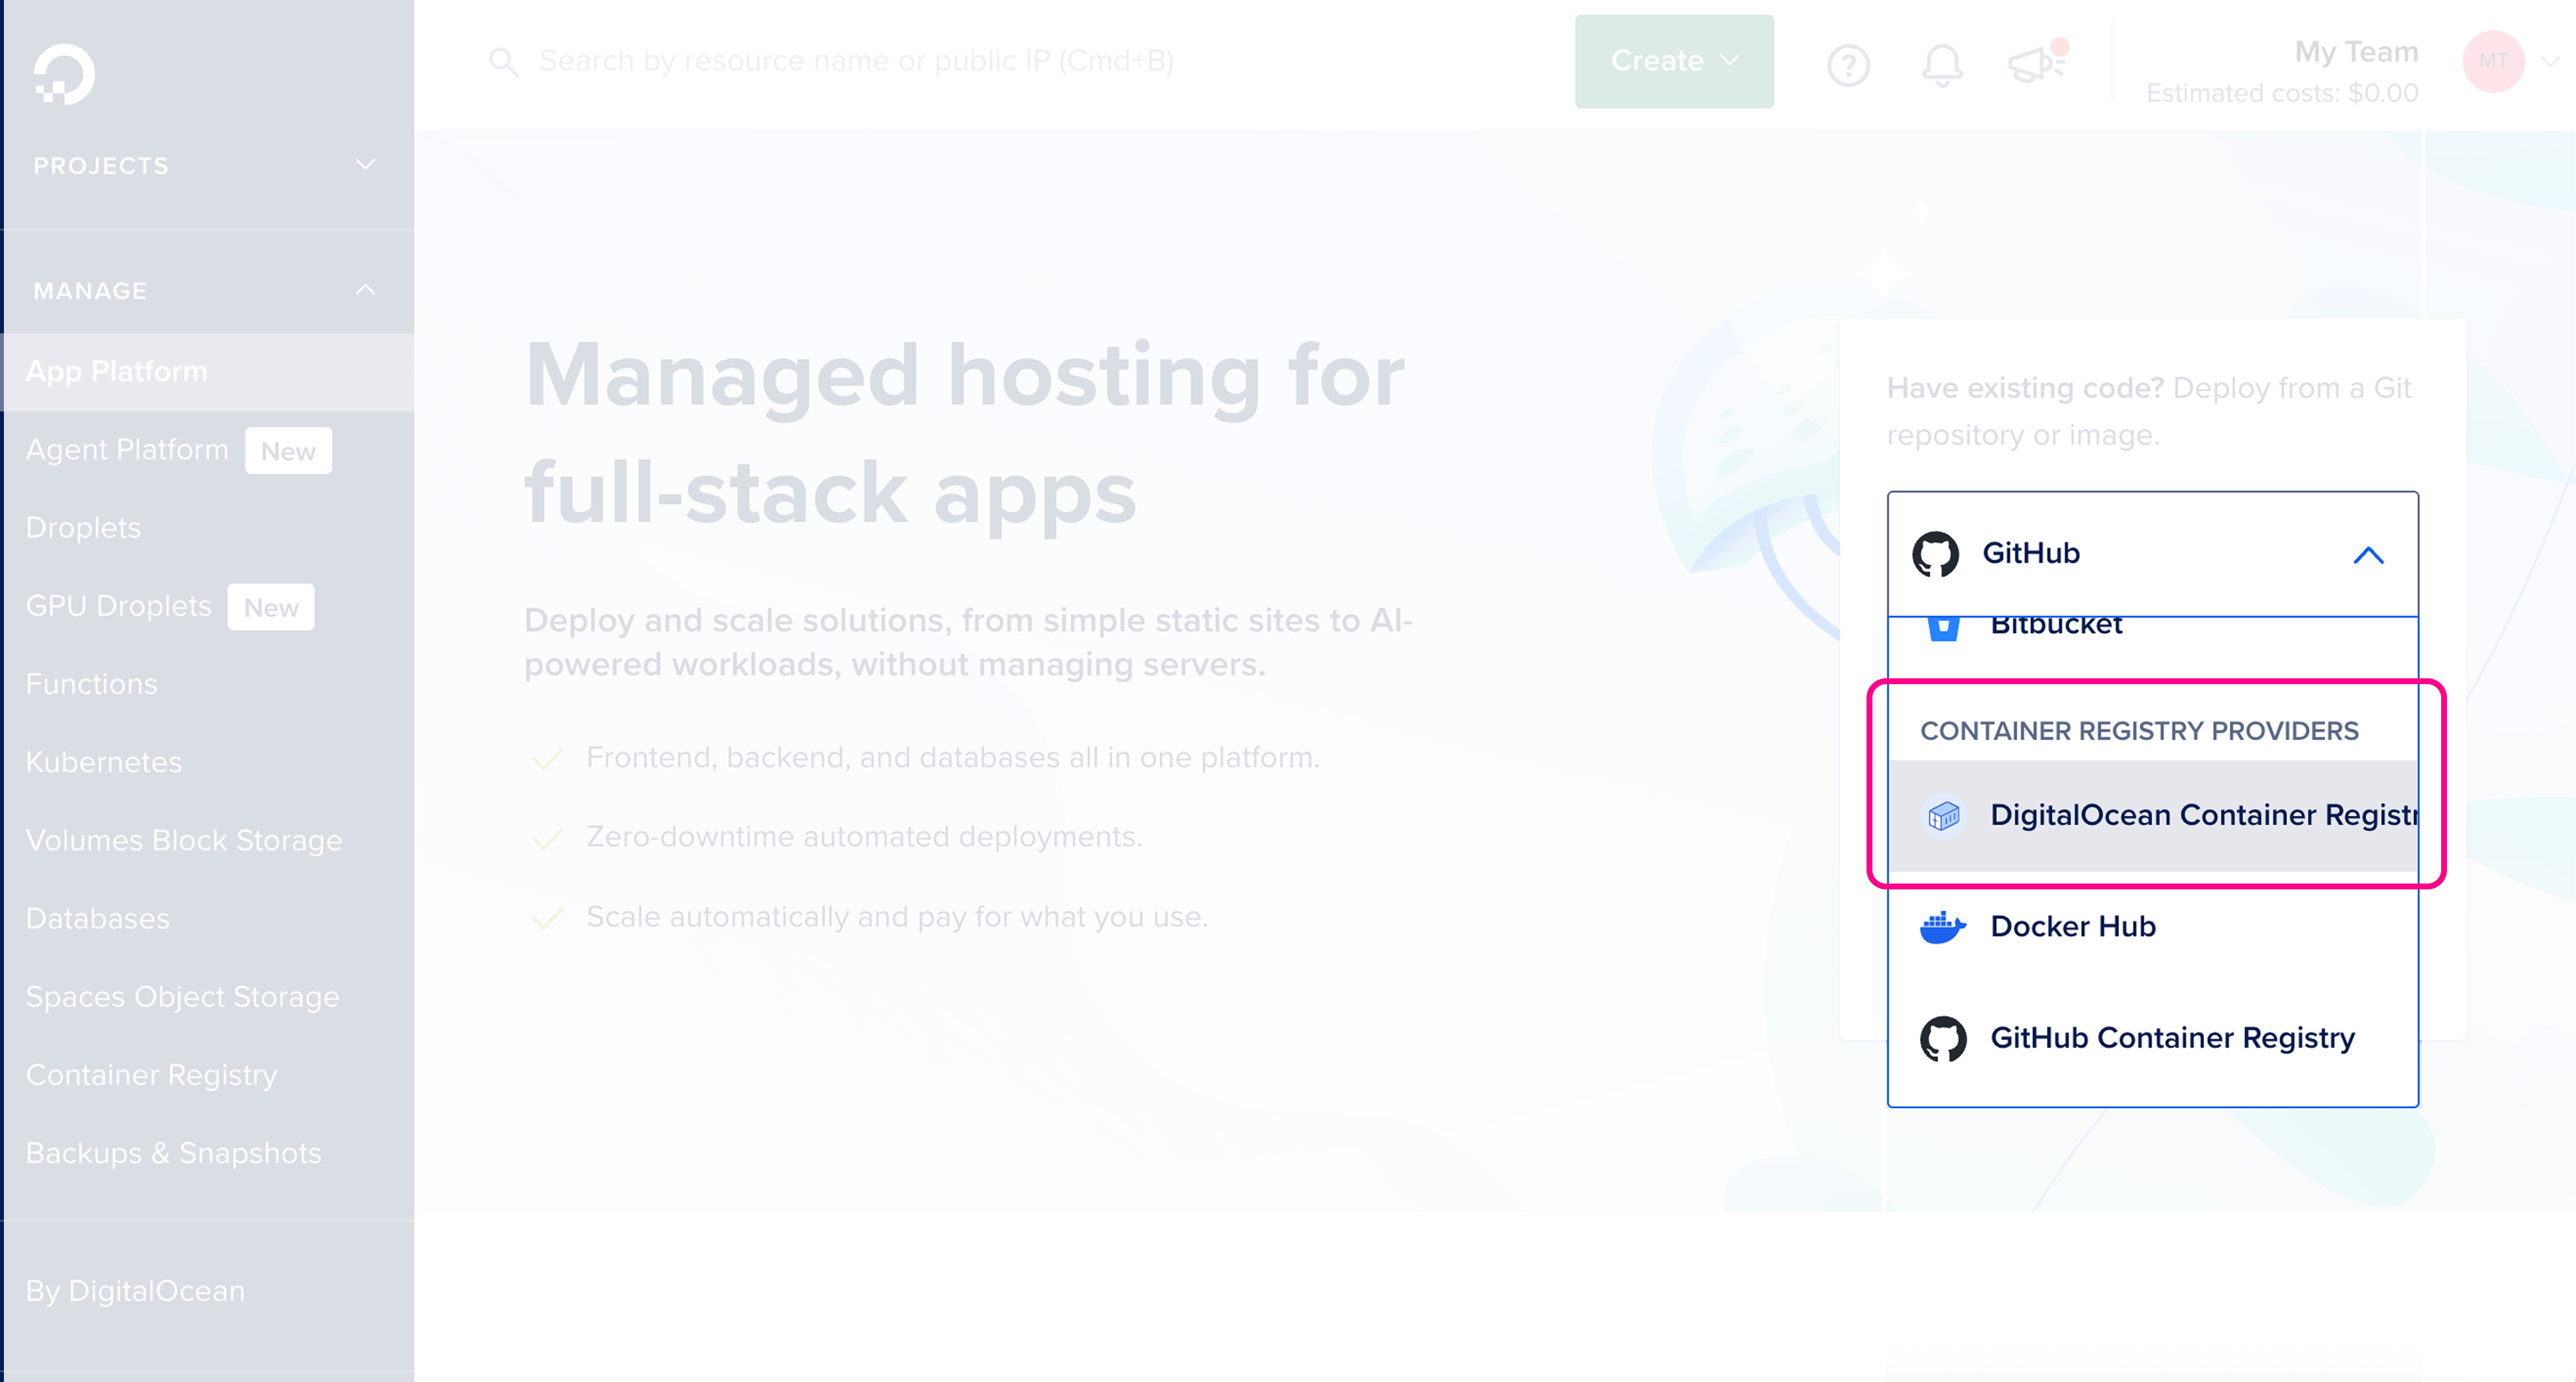
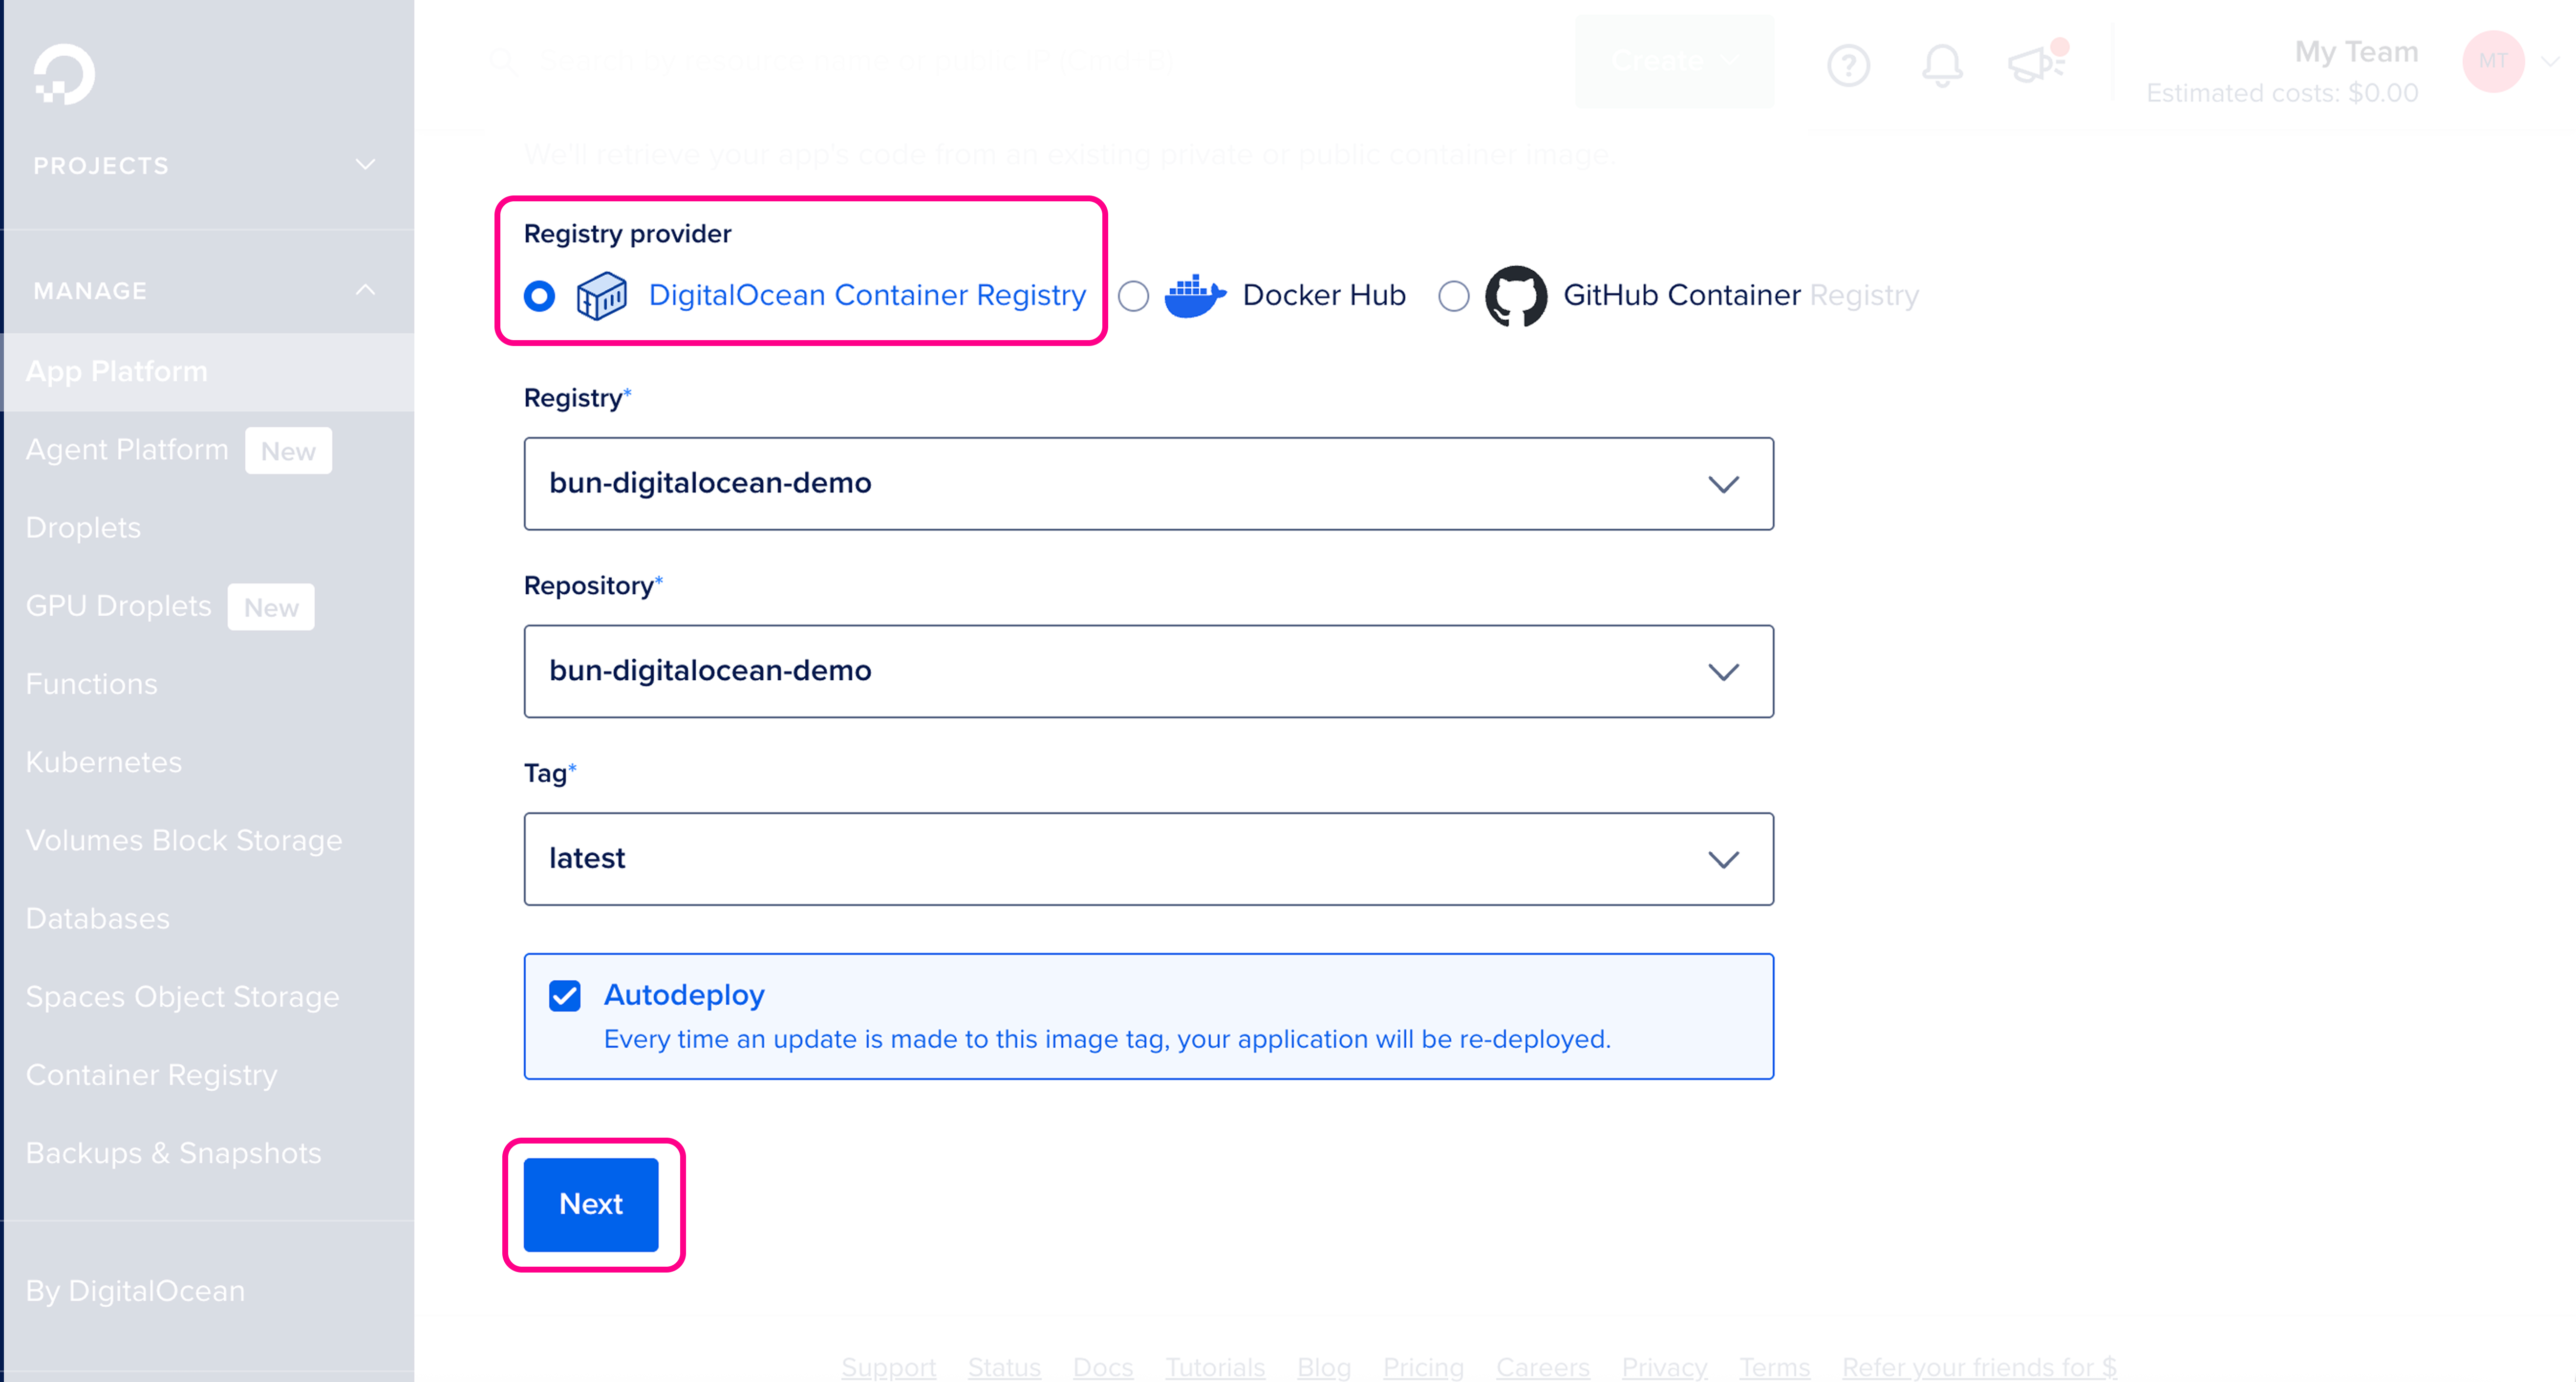
Make sure the details are correct, then click Next.
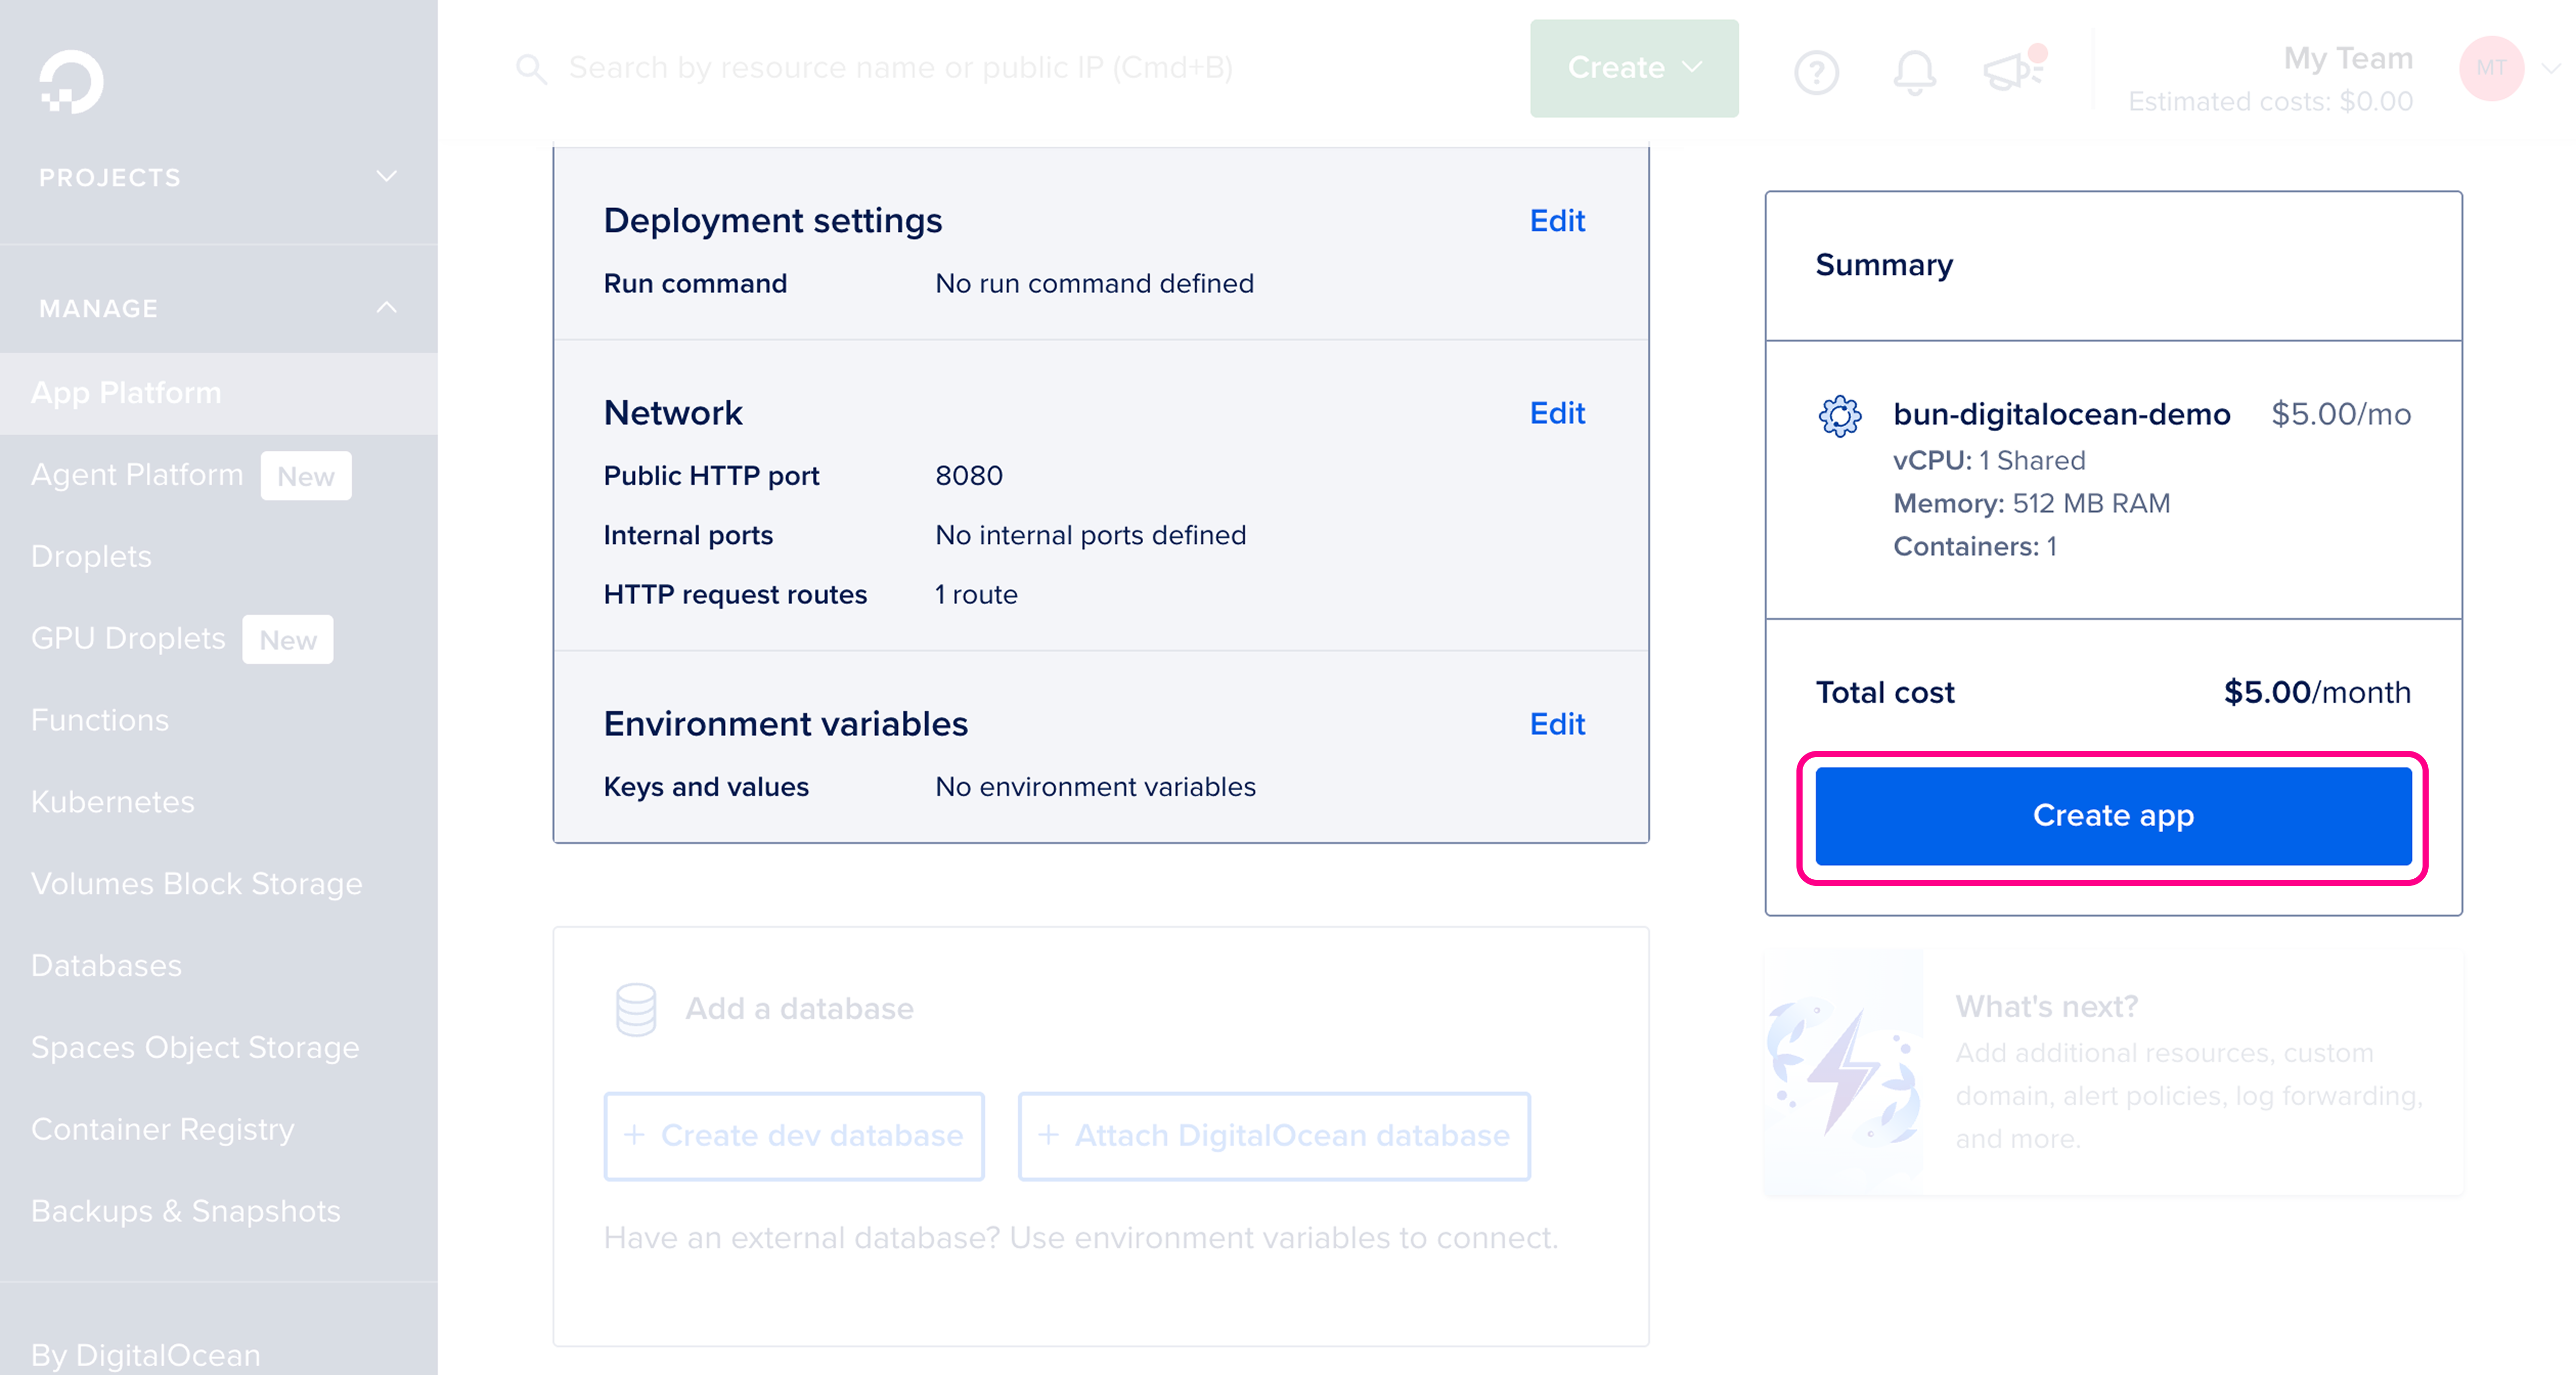
Review and configure resource settings, then click Create app.
-
Visit your live application
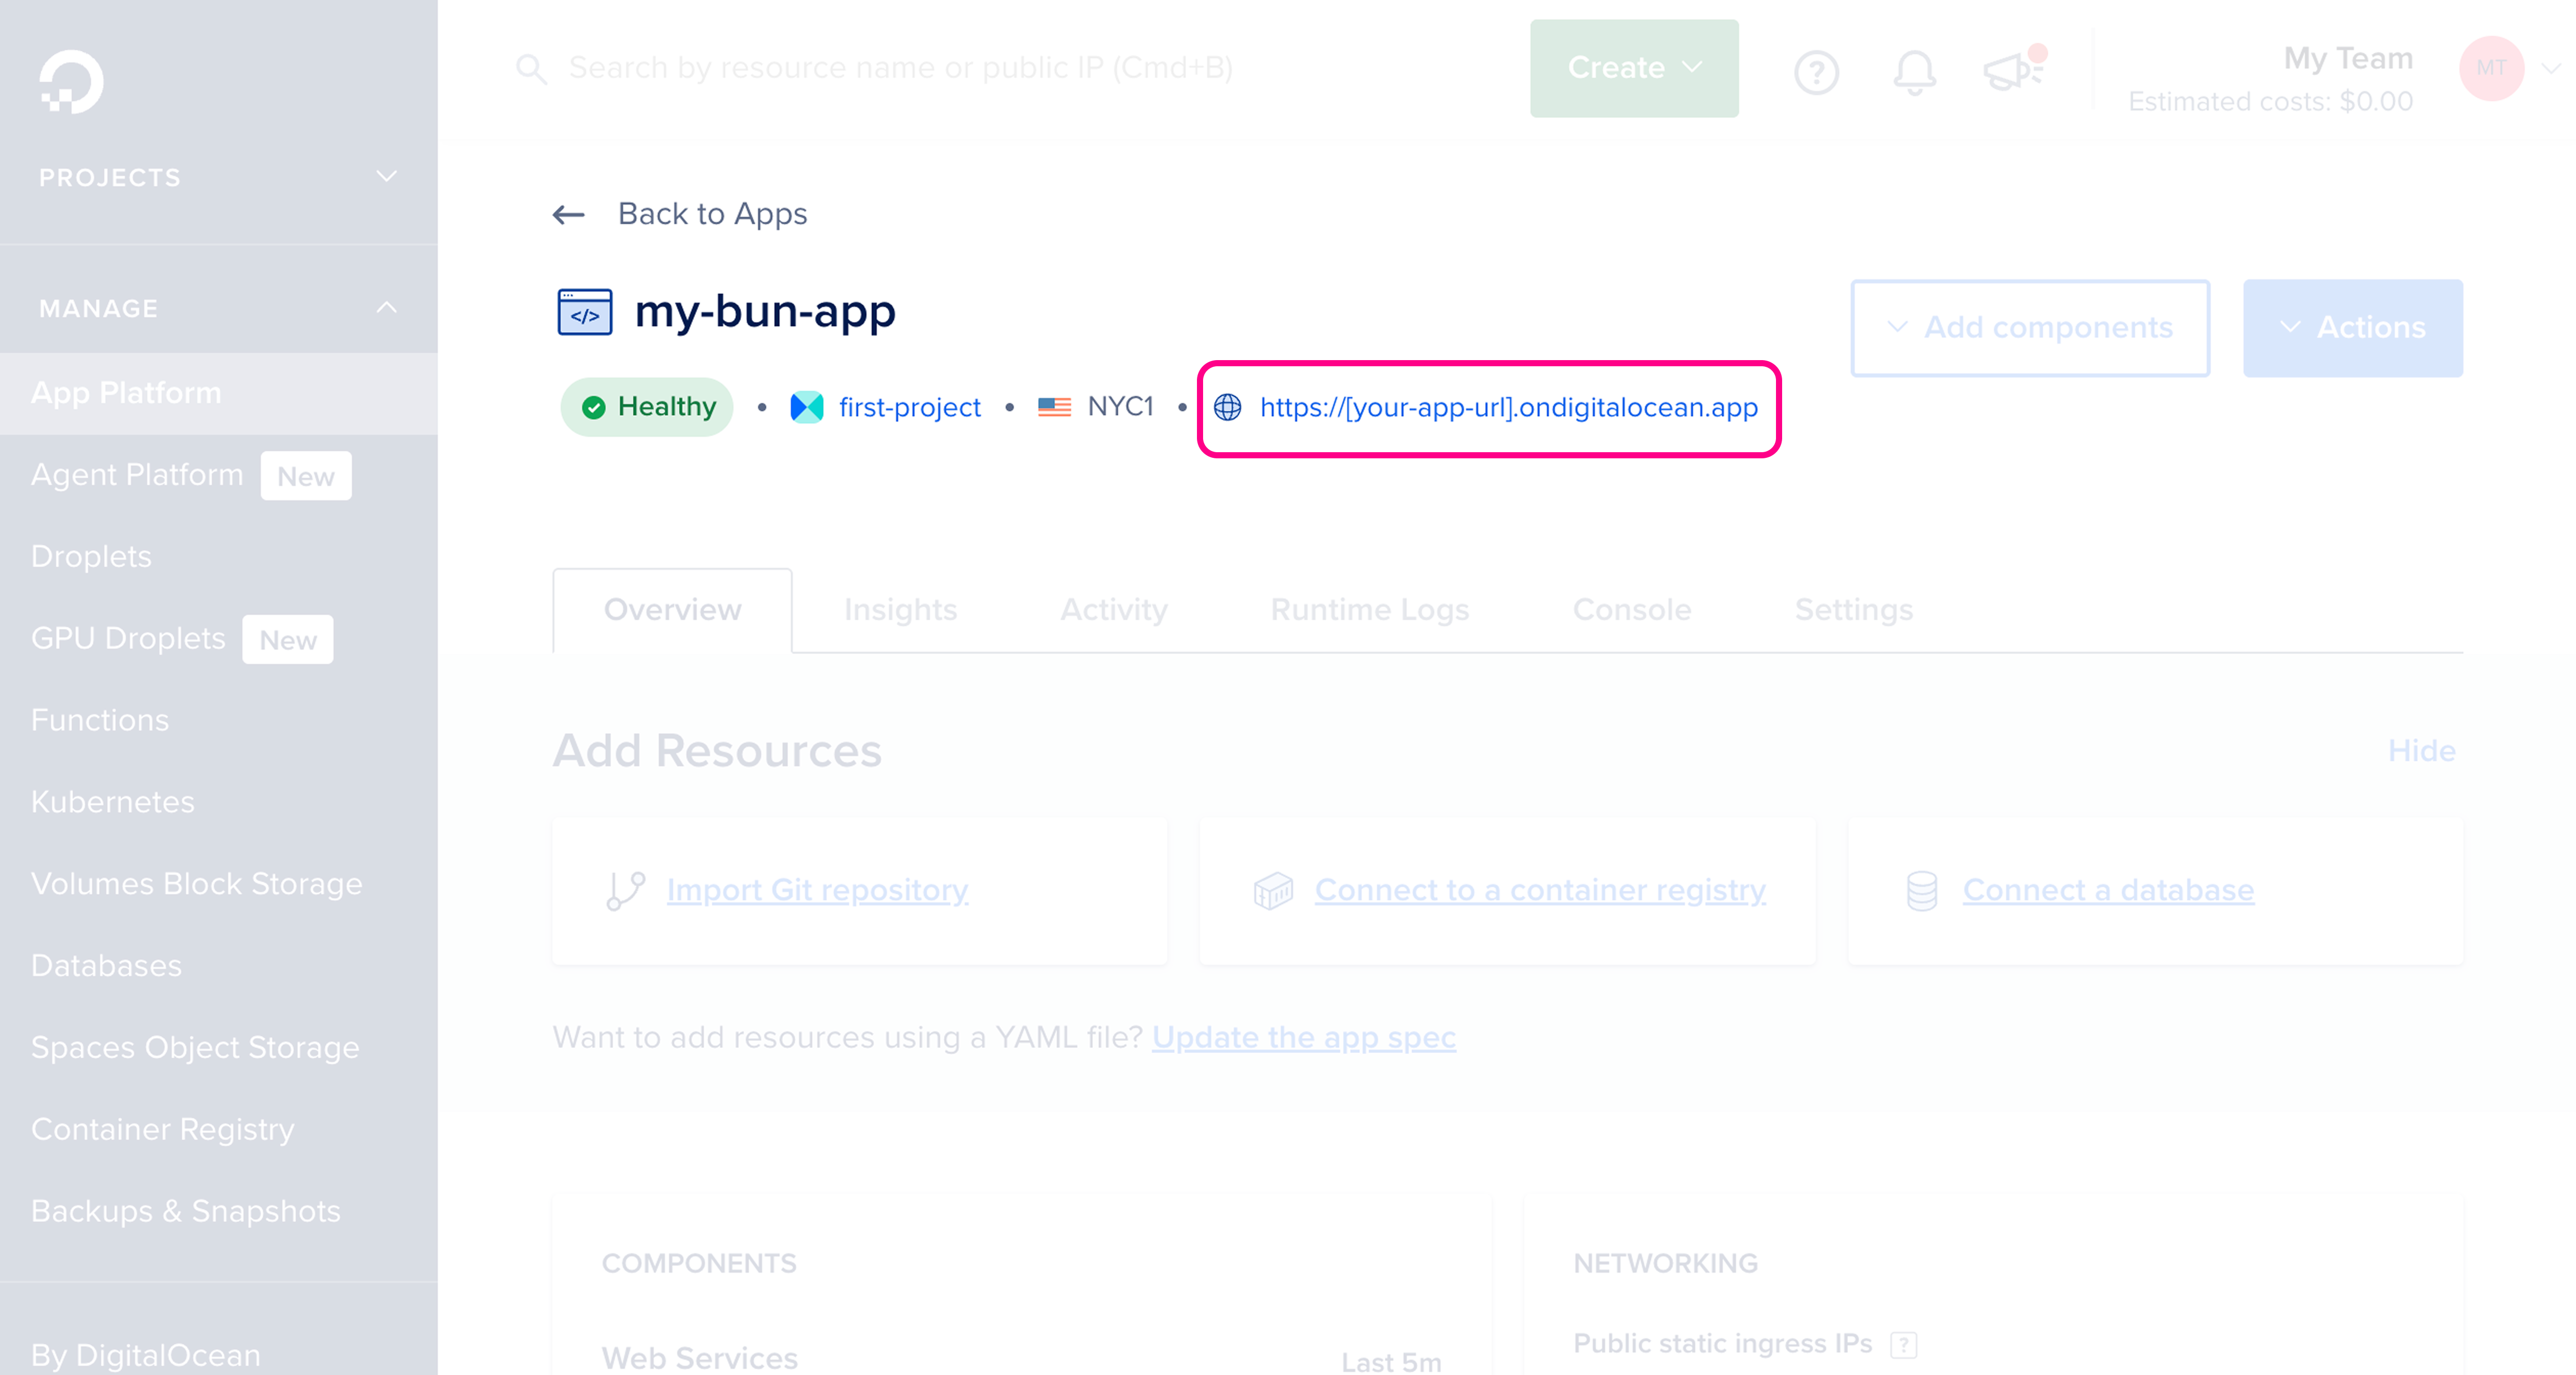
Your app is now live. Once the app is created, you should see it in the App Platform dashboard with its public URL.